Manually Creating a Task
FlexNet Code Insight 2019 R1
The following procedure describes the manual process for creating a task.
Note that a task can also be created automatically in an automated workflow process (along with external work items) based on review and remediation options that the project owner sets up for the project, as described in Updating Inventory Review and Remediation Settings for a Project.
To create a task manually, do the following:
|
1.
|
Navigate to the Project Inventory page. |
|
2.
|
Select the inventory item to which you want to add a task. Alternatively, to help you locate the inventory item, click the Advanced Search button to open the Advanced Inventory Search dialog. From here you can filter inventory items accordingly. |
When you select the specific inventory item, the Inventory Details tab for the item is displayed.
|
3.
|
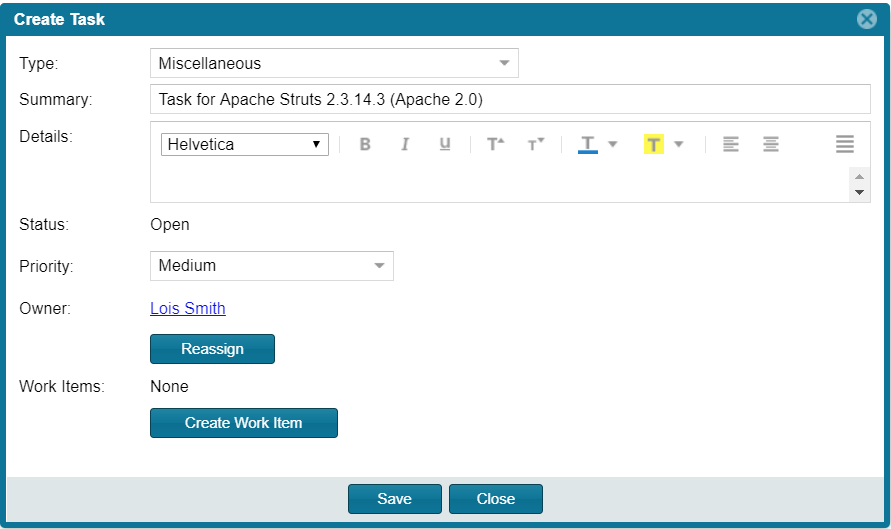
In the Tasks section, click the Create Task button to open the Create Task dialog. |

|
4.
|
Select the type of task you want to create—Manual Inventory Review, Remediate Inventory, or Miscellaneous. (Refer to the descriptions of task types earlier in this section.) |
|
5.
|
Complete the following fields as needed: |
|
•
|
In the Summary field, provide a summary or title for the task. |
|
•
|
In the Details field, provide instructions or requirements for completing this task (or provide any information that will be useful to the reviewer). |
|
•
|
Keep the Status as Open for a new task. |
|
6.
|
By default, the new task is assigned to the default point of contact (defined for the project), as listed in the Owner field. To change the task owner, click the Reassign button under the Owner field, and select a new owner. |
A “Success” message is displayed if the work item is created successfully on the corresponding ALM system (currently, a Jira server) associated to this project.
You can repeat this step to create another work task.
|
8.
|
Click Save to create the task. |
Open topic with navigation

