Scanning the Codebase
FlexNet Code Insight 2019 R1
After a codebase is uploaded and the appropriate scan profile is selected, you can scan the codebase.
Refer to the FlexNet Code Insight User Roles and Permissions appendix for role requirements to scan a codebase.
To start the scan, do the following:
|
2.
|
Click Start Scan. Information about the scan’s progress appears in the Scan Status section on the Summary tab. |
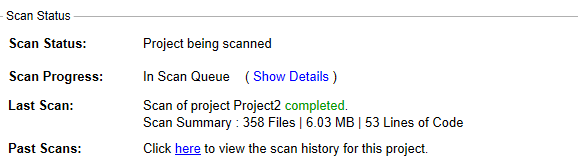
When the scan completes, the Scan Status will display one of the following messages:
|
•
|
Completed—The scan succeeded with no warnings during scan or analysis. This message appears on screen in green. |
|
•
|
Completed with warnings—The scan succeeded but the analysis has warnings. |
|
•
|
Failed—The scan failed. This message appears on screen in red. |
Note • If the scan completed with a warning or if it failed, check your scan log for more information.
For an overall understanding of the scan results, see Overview of Scan Results.
|
3.
|
Do any of the following: |
|
•
|
Manage the project. For example, you can assign users to project analyzer or reviewer roles, define the project’s scan settings, configure an automated review and remediation workflow, configure a connection to a remote data source such as Perforce or Jira, and more. See Managing a Project from the Summary Tab for details. |
|
•
|
Generate the following reports: |
Open topic with navigation