Editing Inventory from the Project Inventory Tab
Code Insight 2021 R1
Use the following steps to edit an inventory item from the Project Inventory tab for a project as needed.
To edit an inventory item from the Project Inventory tab, do the following:
|
2.
|
In the Inventory Items list, select the inventory item that you want to edit. Information about the inventory item is displayed in the right pane. |
|
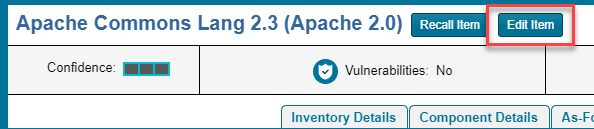
3.
|
In the header on the right pane, click the Edit Item button next to the component name. |
The Edit Inventory dialog opens.
|
4.
|
Make changes to the fields as needed. Refer to Project Inventory Details Pane for field descriptions and additional steps required when updating the inventory type. Note the following: |
|
•
|
For a Component inventory item, you can use the Component Lookup feature to select a different registered instance (or create a new one) or to create a custom component and instance to associate with the inventory item. The Name, Component, and License fields are updated accordingly. |
|
•
|
You can convert a Work In Progress or License Only inventory item to a different inventory type, using the Type field and performing the additional steps required for the type. The Name and other appropriate fields are updated accordingly. |
|
•
|
If you need to update the component version or associated license only, simply click the Edit ( ) icon next to the Component or License value, and select a different license or version or both. (This avoids performing the longer Component Lookup process to edit these elements.) ) icon next to the Component or License value, and select a different license or version or both. (This avoids performing the longer Component Lookup process to edit these elements.) |
|
•
|
No additional files can be associated with an inventory item from Project Inventory tab. |
|
5.
|
Click Save to change the changes to the inventory item. |