Creating the Custom Component Based on Its Forge
Use the following method to create the custom component if you know the forge (that is, the third-party project repository) of the custom component you are creating.
To create a custom component based on its forge:
|
2.
|
From the Forge field, select the forge of the custom component, and enter the information required to identify the forge. The following describes the selection of desired options from the Forge field drop-down on the Lookup Component window in order to perform the required components search: |
|
•
|
Selecting the Github option from the Forge field drop-down enables you to access the Author and Repository fields that helps you to search for a specific component within the forge by entering required details. |
The following displays the Lookup Component window in which the Author and Repository fields are available when you selects the Github option from the Forge field drop-down:

|
•
|
Selecting the Go option from the Forge field drop-down enables you to access the Package Names field that helps you to search for a specific component within the forge by entering the related Go Module name. |
The following displays the Lookup Component window in which the Package Name field is available when you chooses the Go option from the Forge field drop-down:

|
3.
|
Click Create New Component. |
|
•
|
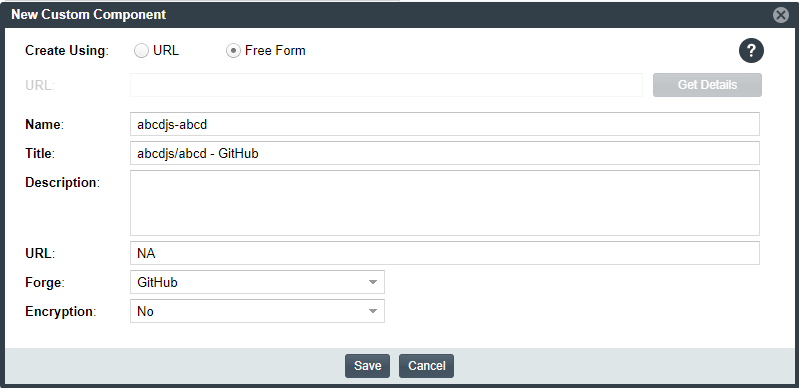
If the forge you entered is one of the forge-URL domains currently supported for custom component creation, the New Custom Component window opens, showing component fields—including Name, Title, and Forge—automatically populated with values based on domain conventions. (For the list of supported domains, see Supported Forge-URL Domains for Custom Components.) |

|
•
|
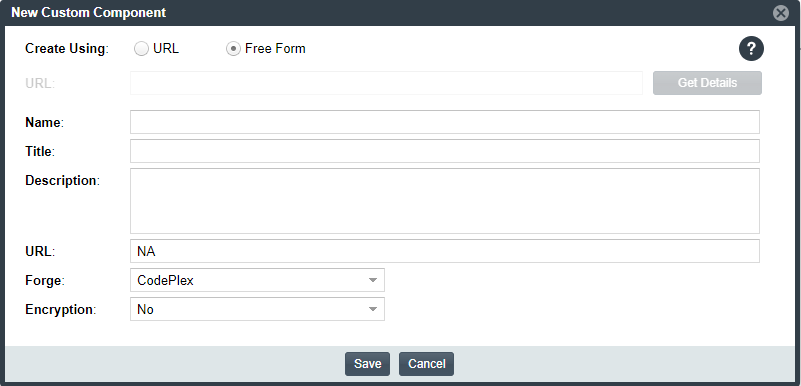
If the forge you entered is not one of the supported domains, the New Custom Component window opens, showing the Forge field automatically populated with the forge type you selected. |

Note that New Custom Component window opens in the Free Form mode, enabling you to add missing values and edit pre-populated values for the component as needed.
|
4.
|
Update the component fields as necessary, noting that the Name, Title, and URL fields are required. (Click  in the upper part of the window for examples of the standard name, title, and URL conventions used by the Forge value you selected.) If you do not know the URL, enter NA. For more information about these fields, see Custom Component Properties. in the upper part of the window for examples of the standard name, title, and URL conventions used by the Forge value you selected.) If you do not know the URL, enter NA. For more information about these fields, see Custom Component Properties. |
|
•
|
If the component is successfully created, it is immediately saved to the Code Insight database and listed in the Lookup Component window or on the Components tab on the Global Component & License Lookup tab. (The Components tab automatically filters to the new component by its component ID.) |
|
•
|
The process of indexing the component in the Code Insight Data Library begins immediately in the background. Once indexed, the custom component is made available for global component searches that users can perform against the Code Insight Data Library. For important information about the indexing process and these searches, see Note About the Indexing Process for Custom Components. |
|
•
|
If the component name and title combination already exists in the Data Library, an error message is displayed. You can edit the custom component details to provide a unique name or title; or (through the Lookup Component window) locate the already-existing component and associate it with the inventory item. |


