Creating a Workspace
FlexNet Code Insight 6.13.3
To create a workspace, perform the following steps.
To create a workspace, do the following:
|
1.
|
Log out and then log in as Owner with the password that you inserted for this user. |
|
2.
|
Select My Projects on the top toolbar to see e-Portal 1.3. |
|
3.
|
Click the blue hyperlink for this project and go to the Workplaces tab. |

|
4.
|
Click Create New Workspace. |
|
5.
|
Give the workspace a name (no spaces, periods, or special characters) and accept the default scanner that is indicated (set to scanner1 by default). |
|
6.
|
On the next screen, in the Folders to scan section, browse to [palamida install directory]\docs\tutorial\ePortal-1.3\. |
|
7.
|
Save the settings and return to the Workspaces page. |
|
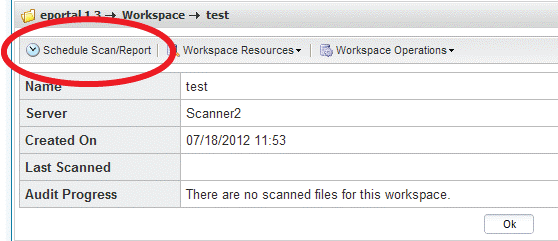
8.
|
Click the hyperlinked name of the workspace and on the next page, click Schedule Scan/Report. |
|
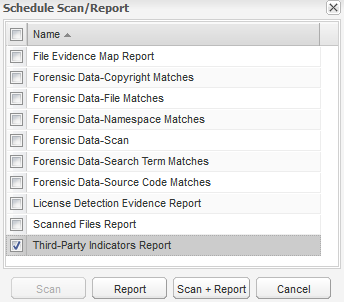
9.
|
A good report to include with your scan is the Third-Party Indicators Report, so check this report and select Scan + Report. |
|
10.
|
Select Scheduler on the top toolbar to view the status of scans, reports, and other tasks: |

Open topic with navigation