Creating New Teams
Code Insight 6.14.2
Use the following procedure to create a new team.
To create a new team, do the followings:
|
1.
|
Click Home in the top left-hand corner to return to the Administrator Home page. |
|
2.
|
Click the Create a new team link. The Team Details page opens. You may also use the Administration à Teams command on the Main Menu bar to navigate the administration pages. |
|
3.
|
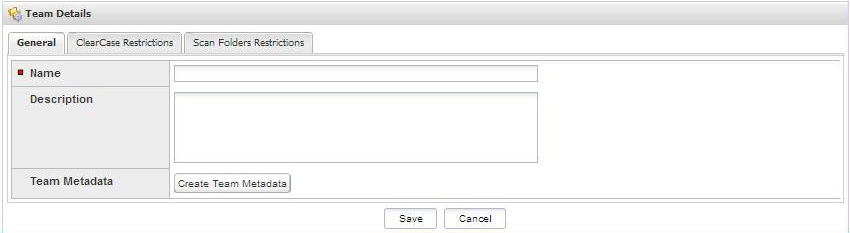
Enter a team name and a team description in the General tab. |
Note:To use the Create Team Metadata button, you must have created Metadata fields for Teams. To create metadata, log in as Administrator, and see the Metadata command on the Administration pull-down menu. Metadata is typically created during the system configuration phase. However, it can also be created any time thereafter.
|
4.
|
If ClearCase has been enabled for any Scan Servers, a ClearCase restrictions tab will be shown on the Team Details page: |
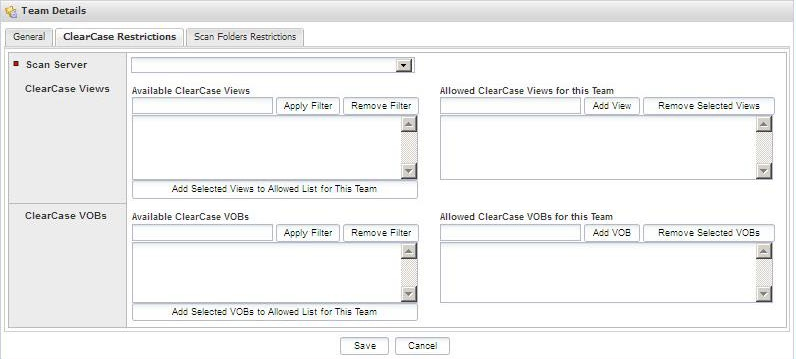
This tab is used to restrict which ClearCase views and VOBs may be used for scanning by all projects under this team.
|
•
|
A filter may be used to find the desired views and/or VOBs. |
|
•
|
Selected views and VOBs will be saved with the team, and will restrict available values in the Workspace Settings page for the Project Owner and Auditor. |
|
•
|
The clearcaseRestrictionsShowAllDataByDefault property in the scm.properties file controls whether all views and VOBs are shown to the Project Owner and Auditor on the Workspace Settings page if no ClearCase restrictions have been defined for the team. By default, the property is set to true, so all ClearCase views and VOBs are available unless restricted by the Application Administrator. |
|
5.
|
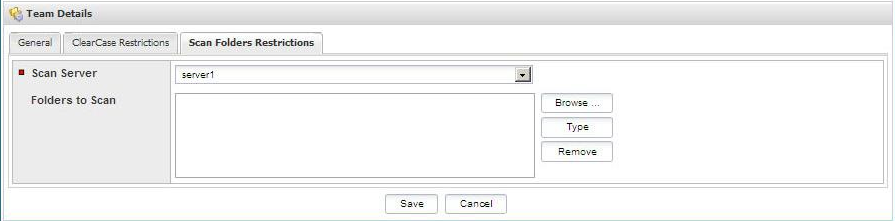
The Scan Folder Restrictions tab is used to restrict which locations on the Scan Server may be used for scanning by all projects under this team. |
|
6.
|
Select the Scan Server from the pull-down menu. |
|
7.
|
Click Browse to select folders from the server file system tree, or manually type in the full path, as shown in the following figure. |
|
8.
|
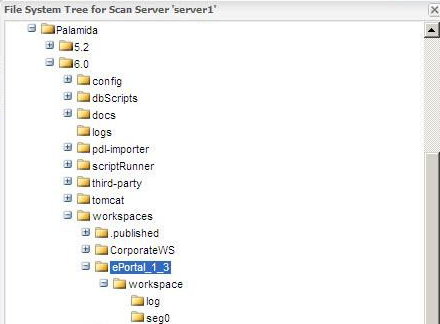
In the server file system tree, select the Scan Server to display that server’s file system tree. |
|
9.
|
Click on the folder(s) to add them to the list of locations that can be selected in the workspace settings for any project under this team. This will restrict which folders can be scanned for all projects under this team. |
|
10.
|
Click the Save button. |