InstallShield 2019 Express Edition
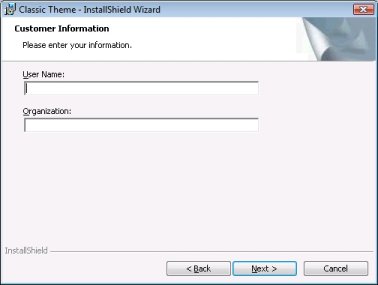
The Customer Information dialog lets you gather information such as name and company from end users. Additionally, you can link to a DLL that verifies serial numbers, in order to prevent unauthorized use of your software. Although this dialog is not required, it is selected by default.
The Customer Information dialog can also give end users the option of installing your product for all users or for only the current user. For more information, see Per-User vs. Per-Machine Installations.
Customer Information Dialog with Classic Theme
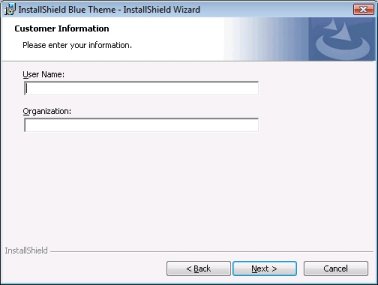
Customer Information Dialog with InstallShield Blue Theme
Customizing the Dialog
You can customize this dialog by editing its settings. These settings appear to the right of the Dialogs explorer when you select the Customer Information dialog from the explorer. The Customer Information dialog has the following settings:
|
Setting |
Description |
|||||||||
|
Banner Bitmap |
Enter the path and name of the image file (.bmp or .jpg) that you want to use for this dialog’s banner (across the top of the dialog), or click the ellipsis button (...) to browse to the file. The image must be 499 pixels wide by 58 pixels high. |
|||||||||
|
Show Serial Number |
Specify whether you want the dialog to have a serial number field. When an end user enters a serial number, the serial number can be verified by the DLL that you specify for the Serial Number Validation DLL setting. For more information, see Using a Custom Action for Serial Number Validation. If you select No, the other serial number settings are disabled. |
|||||||||
|
Serial Number Template |
Specify the format for your product’s serial number:
For a serial number format of ###-????, the serial number field on the Customer Information dialog would consist of two boxes; end users would be able to type only three numbers in the first box and only four alphanumeric characters in the second box. |
|||||||||
|
Serial Number Validation DLL |
Enter the path to the DLL that contains the validation function for your serial numbers, or click the ellipsis button (...) to browse to this file. For information on how to format your function, see Using a Custom Action for Serial Number Validation. |
|||||||||
|
Validate Function |
Enter the name of the DLL function that validates your serial numbers. For example, if your DLL contains a function called ValidateSN(), enter the following: ValidateSN No special formatting is required. However, this function must exist in the DLL that you specified in the Serial Number Validation DLL setting. |
|||||||||
|
Success Return Value |
Specify the value that your validation function returns upon success. This return value’s data type must be LONG. You can enter any number other than zero, since zero always signifies that the action failed. |
|||||||||
|
Retry Limit |
Specify the maximum number of times that a failed return value can be accepted before the installation exits. By entering a low number in this setting, you reduce the risk of someone guessing your serial number. |
See Also
Implementing Serial Number Validation at Run Time
InstallShield 2019 Express Edition Help LibraryApril 2019 |
Copyright Information | Flexera |