Creating Buckets
This section explains how to create a bucket, a grouping of multiple data points into a single item.
To create a bucket:
|
1.
|
Navigate to the Analyze tab of your dataset, and look for the bucket icon in the upper-right toolbar. |
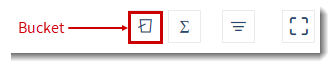
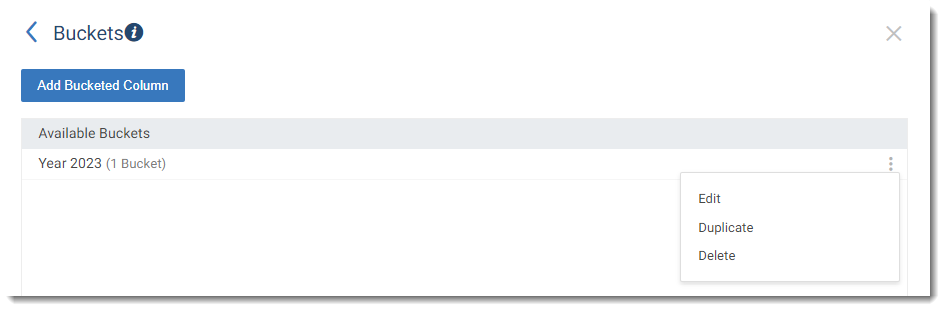
The Buckets dialog box opens.
|
2.
|
Click the Add Bucketed Column button. |
|
3.
|
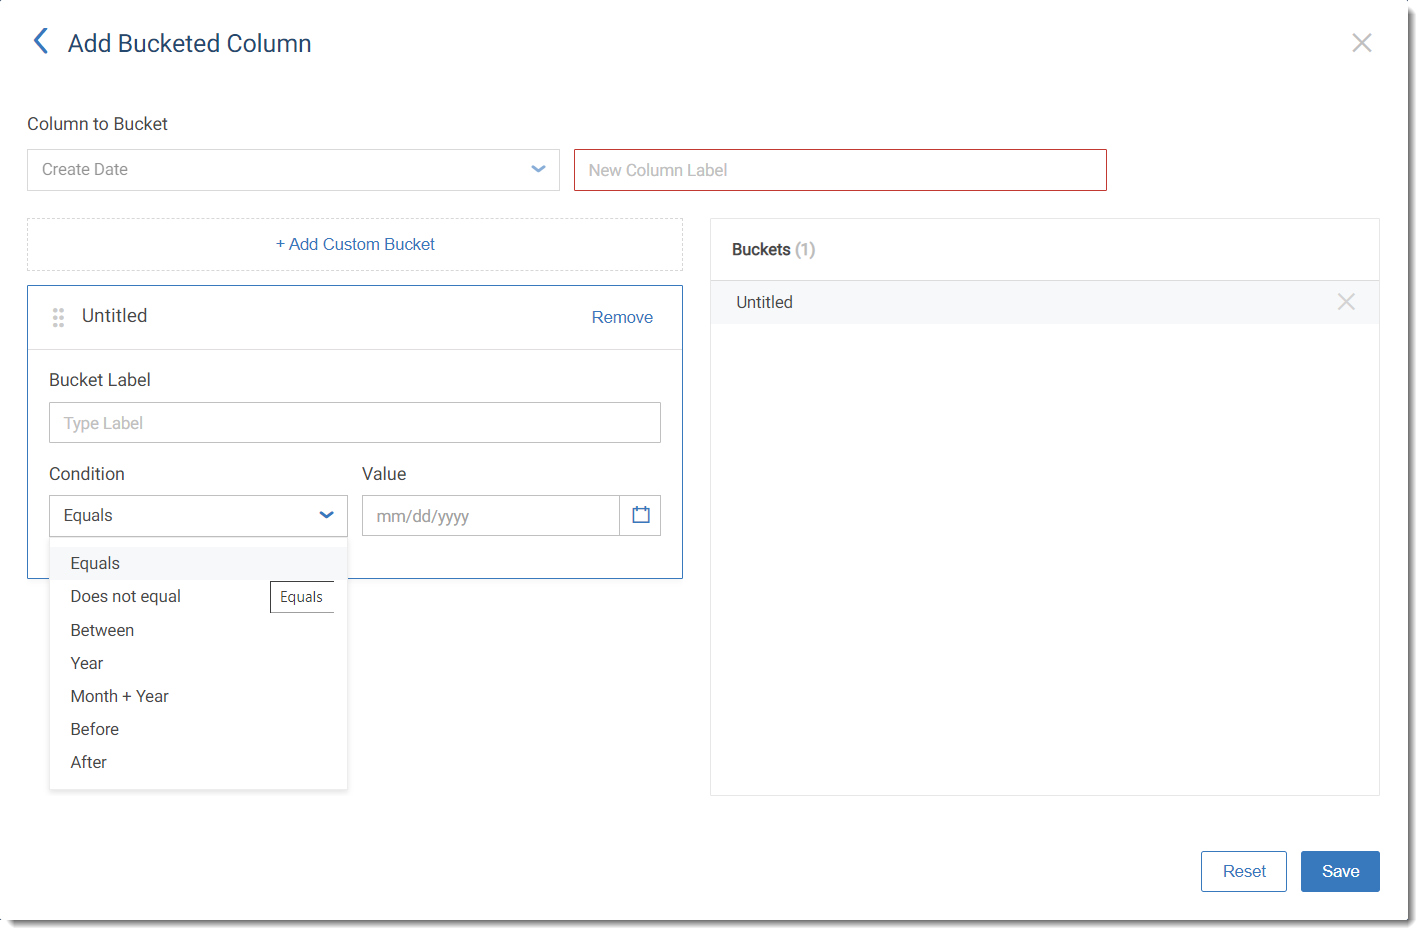
Once inside the bucket editor, select the column of data you’d like to group into buckets and enter a label for your new (bucketed) column. |
|
4.
|
Select one of the following options: |
|
•
|
Basic—If you choose a numeric column to bucket, you can allow Revenera to manage the buckets by selecting the Basic option. Within the Basic option, you can have either a variable or fixed number of buckets by using the Dynamic or Fixed options respectively. |
|
•
|
Dynamic—When you choose Dynamic, the current set of buckets will be shown on the right; however, as your data changes, the buckets will be adjusted by Revenera. |
|
•
|
Fixed—If you choose Fixed buckets, you can then specify the number of buckets, the minimum range value, and the maximum range value. |
|
•
|
Custom—If you select Custom buckets, then the current set of Revenera generated buckets will be shown and you can label, adjust, remove or add buckets as you desire. |
|
5.
|
If you select a text column to bucket, then you can enter a comma delimited list of bucket names and click the Add Bucket button to create the buckets. |
|
•
|
Each bucket name has an associated radio button—use this to select a bucket, and then use the check box next to each distinct text value in the values list on the right panel, to add or remove values from the bucket. |
|
•
|
There is a search field at the top of the values list to help you find values easily. You can create an Other bucket using the Unassigned Values As “Other” option. |
|
•
|
Use the X button for a bucket value to remove it, or use the X button for a bucket name to delete that bucket. |
|
6.
|
If you select a date column to bucket, then you can begin creating your buckets by clicking + Add Custom Bucket. |
|
7.
|
For each custom date or numeric bucket you create, you will first give it a label, which will appear on all of your analytics going forward, and then set the condition and values that will place data points into your bucket. Use the Remove button on a custom bucket to remove it and use the drag handle to reorder custom buckets. |
|
8.
|
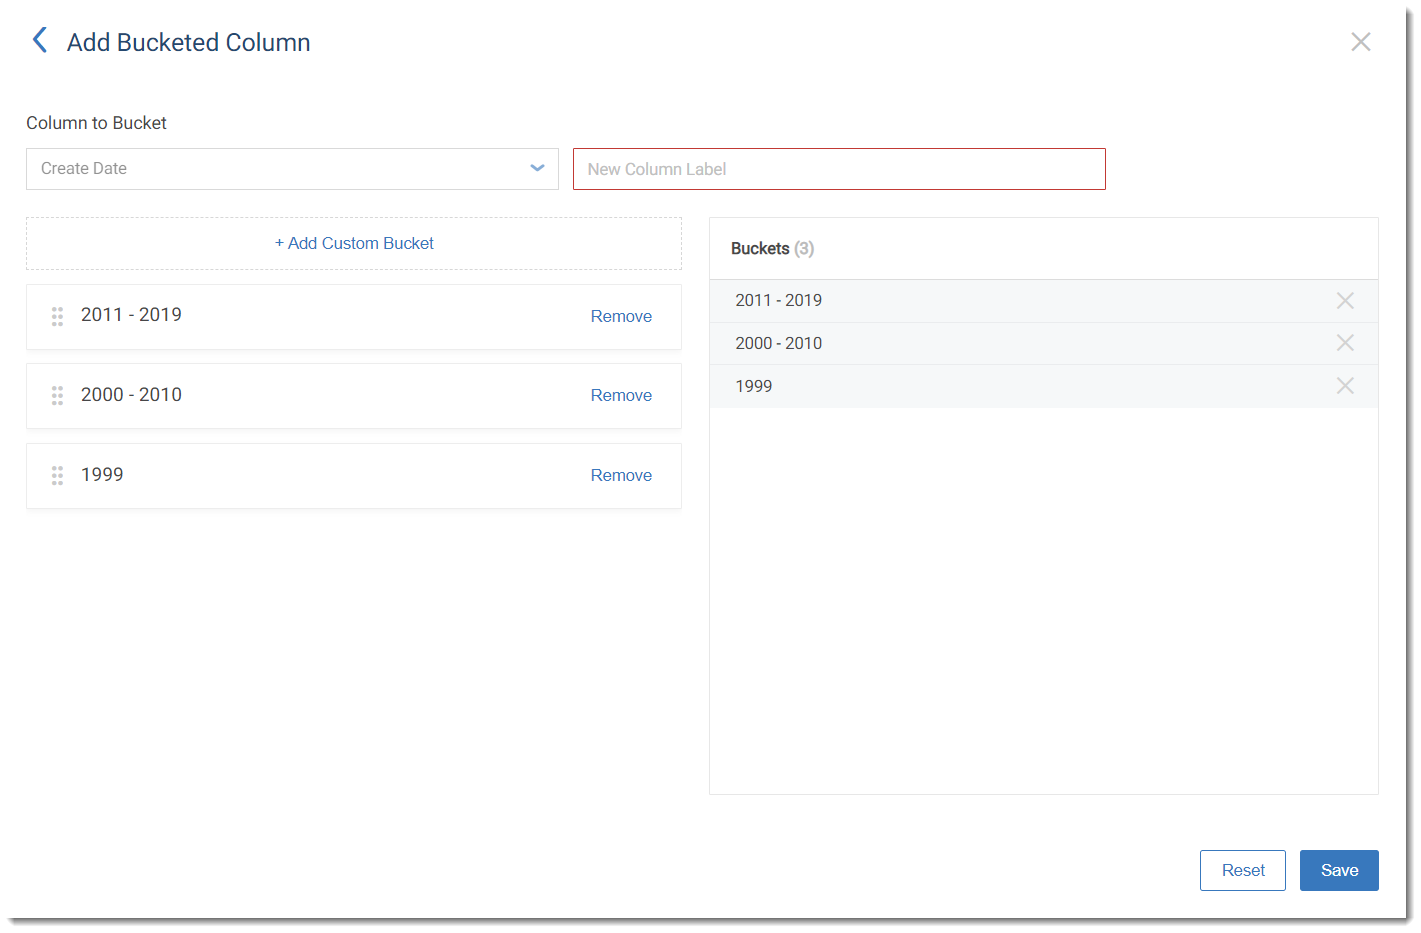
In the screenshot below, we’ve created buckets for the years 1999, 2000-2010, and 2011-2019. All data points will be grouped into these three buckets if conditions are met, and all outliers will be omitted unless catchall buckets are created. (i.e. year < 1999) |
|
9.
|
Once you are satisfied with your buckets, click Create to create them. Once created, your new bucketed data column will be available for analysis throughout the application. |