Adding a Test Contact to the Test Account in Salesforce
The steps outlined in this section build upon those covered in the previous topic, Creating a Test Account in Salesforce.
Note:In FlexNet Operations, the equivalent of a contact is a user.
To create a test contact in Salesforce
|
1.
|
On the page of the test account that you just created, locate the Contacts section and click New. |
|
2.
|
Fill out the following fields: |
|
•
|
Salutation—Select a salutation. |
|
•
|
First Name—Enter a first name, for example, Demo. |
|
•
|
Last Name—Enter a last name, for example, SF-TestUser. |
|
•
|
Account Name—This field should be prepopulated with the name of the account you created in Creating a Test Account in Salesforce. If it isn’t, manually enter the name of the test account, SF-DemoAccount. |
|
•
|
Email—Type an email address. This can be a ficticious address. |
Note:Filling out the fields listed above is mandatory. If information for one of the fields is missing, the sync with FlexNet Operations will fail.
|
3.
|
Accept the default settings for all other fields. |
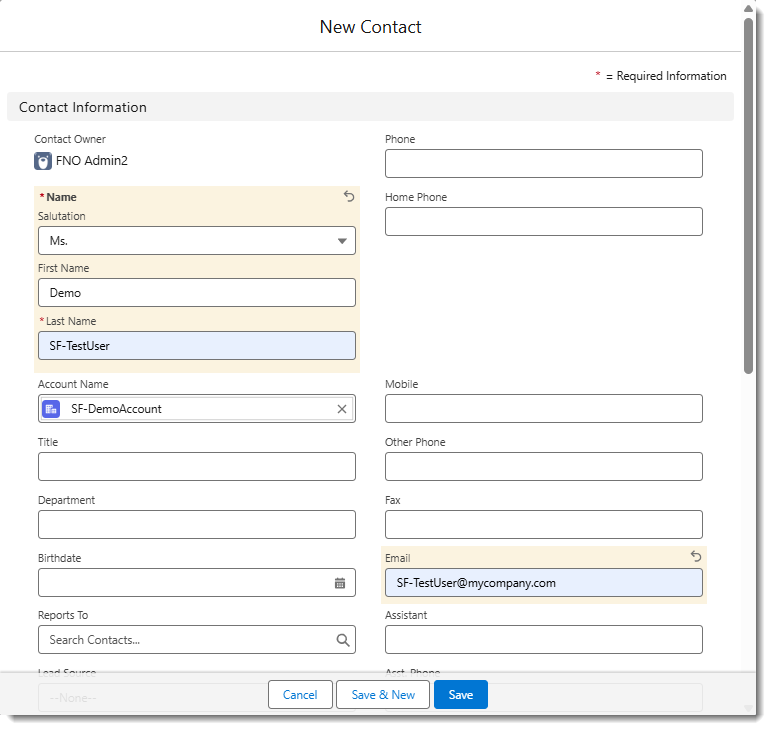
An example of the New Contact dialog in Salesforce, where a contact named SF-TestUser is created.
Do not close the page for the test contact you just created. Continue with the next step, Creating a Test Opportunity for the Test Account in Salesforce.